

Tips and Tricks
Here’s How to Start a Charcoal Fire For a Braai

Jan

Master the Art of Starting a Charcoal Fire for a Perfect Braai
Clinton, starting a charcoal fire for a braai might feel intimidating at first, but with practice and the right approach, you’ll soon light your coals with ease. This guide will show you how to get your fire going—whether you’re braaiing Curry Sosaties, preparing a hearty potjie, or grilling anything in between.
1. Gather Your Supplies
Before you begin, make sure you have:
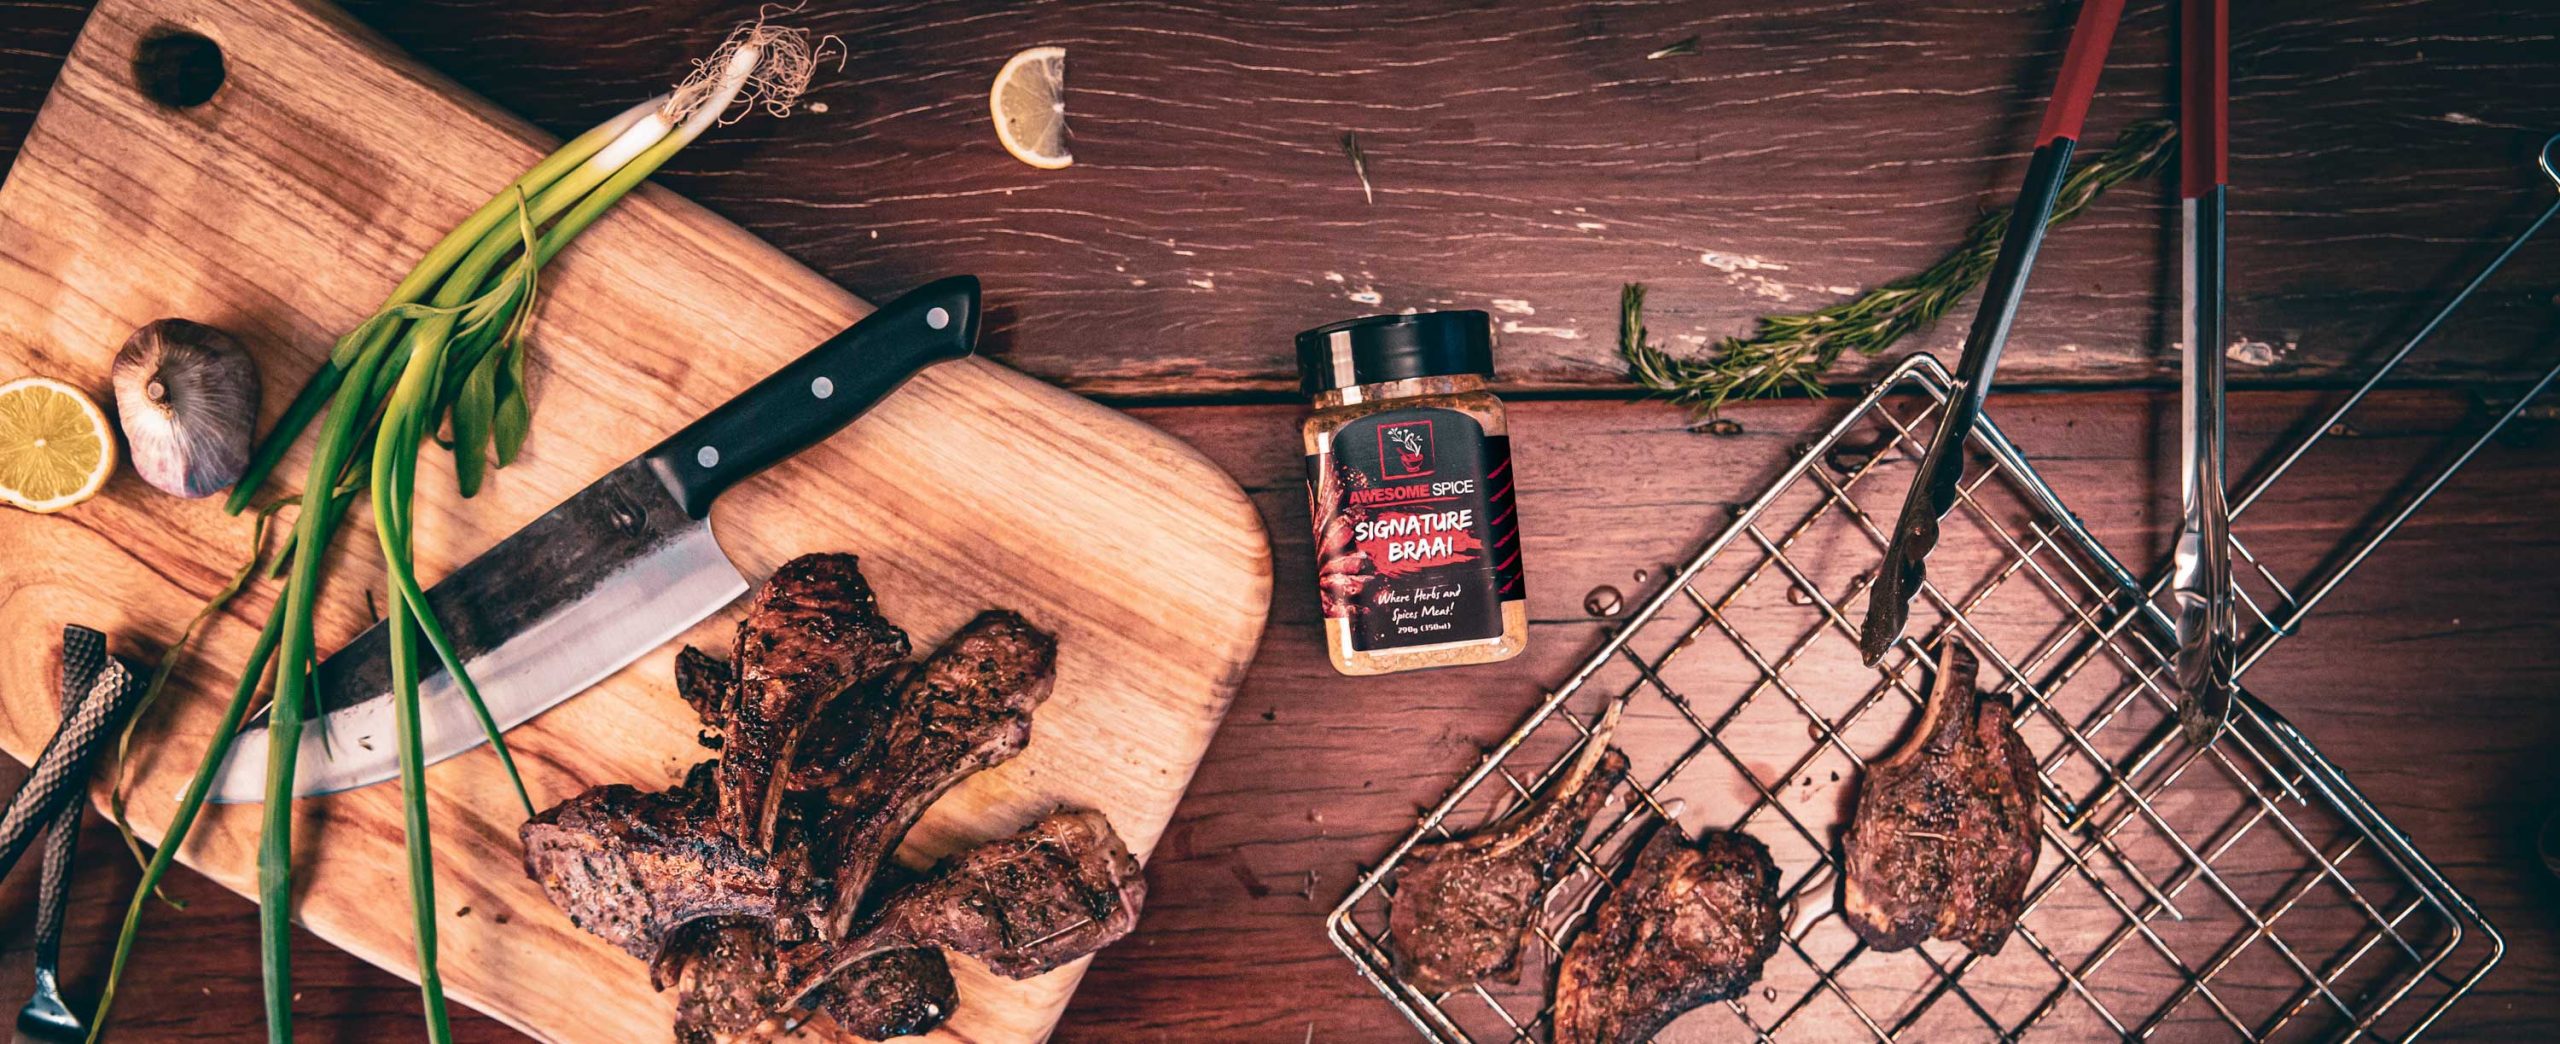
- Charcoal: The amount depends on the size of your braai and the number of guests. When in doubt, it’s better to have too much than too little.
- Fire Starters: White paraffin blocks are highly recommended for their efficiency. However, wood shavings, paper, or a charcoal chimney starter can also do the job.
- Lighter or Matches: Essential for igniting your fire starters.
2. Choose Your Method
There are two main ways to light your charcoal: using fire starters directly in the braai or using a charcoal chimney starter.
Method A: Fire Starters in the Braai
- Safe Placement: Set your braai on a stable, flat surface with good ventilation, away from flammable objects.
- Place Fire Starters: Put 2–3 paraffin blocks at the base of the braai.
- Arrange Charcoal: Pile enough charcoal around and on top of the fire starters to form a small heap.
- Ignite: Light the fire starters. Allow them to burn until the charcoal edges begin to turn grey.
Method B: Charcoal Chimney Starter
- Fill the Chimney: Load your chimney starter with charcoal.
- Fire Starter Underneath: Place a paraffin block (or crumpled paper) on the braai’s base and set the chimney on top.
- Ignite: Light the fire starter. The chimney’s design draws the flame upwards to evenly ignite the coals.
- Transfer the Coals: Once the top coals are turning grey, carefully pour them into the braai.
Why a Chimney Starter? It often lights coals more quickly and evenly, and it can reduce the smell of paraffin in your food.
3. Managing the Fire
- Heat Up: Wait until the initial coals turn greyish-white. This generally takes 15–30 minutes.
- Add More Charcoal: If needed, add more charcoal once the base layer is alight.
- Create Heat Zones: Spread coals evenly if you want one large cooking zone, or position them to one side for a hot zone and a cooler zone.
4. When to Cook
The ideal time to cook is when most coals are grey on the outside with a glowing red centre:
- Timing: This typically takes 20–40 minutes, depending on how much charcoal you’re using.
- Hand Test: Place your hand about 15 cm above the coals. If you can only hold it there for 2–3 seconds, the heat is high—great for searing. If you can manage 4–5 seconds, it’s more moderate, suitable for longer cooks.
5. Cooking and Heat Control
Once the coals are ready, it’s time to cook:
- Spread or Stack: Spread the coals evenly for uniform heat or create a two-zone setup if you need varying temperatures.
- Manage Airflow: Adjust vents to control how much oxygen reaches the coals. More air means higher heat; less air cools things down.
- Long Cooks: For dishes like a whole chicken or big lamb ribs, add a handful of charcoal whenever you notice the heat dipping.
6. Safety First
- Always Monitor: Keep an eye on your braai—never leave it unattended.
- Local Regulations: Check for any fire bans or restrictions in your area, especially in dry conditions.
- Extinguish Properly: After cooking, close the lid or carefully douse the coals. Wait until everything is cool before disposing of ash.
Conclusion
By following these straightforward steps—whether you use paraffin blocks directly in the braai or opt for a chimney starter—you’ll discover that lighting the fire is more than just a task; it’s part of the braai experience. With a bit of practice, you’ll master the art of creating perfectly glowing coals. Happy braaiing, and remember: a well-prepared fire is the key to an unforgettable meal!